Creating Stimuli#
The following demonstrates how to create and time simple PsychoPy stimuli.
PsychoPy allows for the creation of precisely timed visual stimuli. With these stimuli, corresponding digital ‘marker’ can be sent directly into the active EEG data stream.
Creating Visual Stimuli#
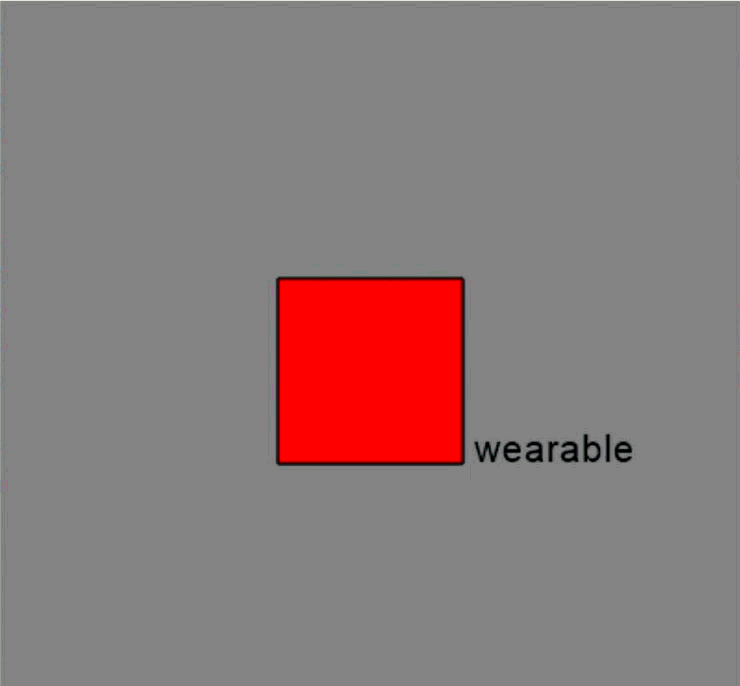
This code create visuals with the text “wearable” and a red rectangle. For more information on different stimuli, please refer to the Resource at the bottom on of the page.
from psychopy import visual, core

win = visual.Window([400,400]) # Create a window

# Create a text stimulus with specific properties
text = visual.TextStim(win, text='wearable', pos=(0.5, -0.2), color='black')

# Create a rectangle stimulus with specific properties
rectangle = visual.Rect(win, width=0.5, height=0.5, fillColor='red', lineColor='black')

# Automatically draw every frame
text.autoDraw = True
rectangle.autoDraw = True


win.flip() # Show the stimuli
core.wait(2.0) # Wait for 2 seconds
Creating a Window (visual.Window())#
This command creates the main window or screen where all your visual stimuli will be displayed. It is like a blank canvas for your entire experiment.
Creating a Text Stimulus (visual.TextStim())#
This function creates a text object that you can display in your window. It can be used to present words, instructions, or any text-based information to your participant.
Creating a Rectangle Stimulus (visual.Rect())#
This function creates a rectangle shape. You can customize its size, color, and position to use it as a background, a border, a fixation point, or any other rectangular visual element in your experiment. There are other shapes that can be created, please refer to the PsychoPy visuals documentation.
Drawing (stim.autoDraw())#
To display a stimulus, you can either call the draw() on every frame manually, or you can automate the process by setting stim.autoDraw = True. This method will also log the exact start and end frames of the stimulus’s appearance, provided that autoLog is also enabled.
Updating (win.flip())#
This function updates the display by swapping the hidden screen buffer (where you’ve drawn your new frame) with the visible one, making all your changes appear at once.
Timing (core.wait())#
For managing timing, PsychoPy provides two main options. Use the straightforward core.wait() command for simple, fixed pauses. For more complex or flexible scenarios, such as measuring response times, the Clock() object offers more advanced control.
If you wish to use other methods for timing, it can be found here.
Modifying Existing Stimuli#
For modification options, you can specify and alter specific attributes of the visuals. PsychoPy have various modification options depending on the visual you chose.
from psychopy import visual, core

# Modify the text
text.text = 'sensing'  # Change properties of existing stim
text.ori += 3.8  # Object can be modified with arithmetic
text.size *= 1.5  # Decrease the size by 50%
text.color = 'blue'  # Change the color of the text
text.pos = (-0.5, 0.2)  # Change the position of the text

#Modify the rectangle
rectangle.fillColor = 'green'  # Change the fill color of the rectangle
rectangle.ori += 45  # Rotate the rectangle by 45 degrees
rectangle.opacity = 0.6  # Change the opacity of the rectangle
rectangle.pos += (0.2, 0.1)  # Move the rectangle position

win.flip() # Show the updated stimuli
core.wait(2.0) # Wait for 2 seconds
Resources#
For more in-depth documentation and API reference, please refer to: